In the meantime I added "take apart a shirt that fits well" to the giant stack of projects that I work on while we watch TV at night. We watch a lot of TV, and this is the only way I can feel like I'm not wasting my allotted life span sitting and staring at a glowing box. (It's bad enough that I sit all the damn time.) I found a shirt that I liked but that got oil spattered on it so it was going in the rag box anyway, and I used a seam ripper and took it apart into its component parts. Which are very simple, for a simple tee: a front, a back, and two sleeves.
A simple tee is the easiest garment there is to sew.
 Thursday night Adam hosted the D&D game, so I had already cleared the dining table of its usual four-inch layer of stacks of things. (We don't use the dining table to dine except on holidays where we host dinner for more than just ourselves.) I laid out the shirt pieces on the fabric and drew around them. Later it occurred to me that I might want to make this shirt again, so I laid out the shirt pieces on newsprint and drew around them again. In order to get symmetrical pieces I folded each vertically, including the sleeves. I cut the front and the back in halves along the fold. In fact, because usually you cut out sleeves unfolded, I made the newsprint pattern piece of the sleeve before I cut it out of the fabric. Then I laid it out on the fabric and cut out two.
I pinned the front to the back (right sides together) at the sides and the shoulders. I sewed the shoulders and then I sewed the sides. I pinned each sleeve folded lengthwise, right sides together, and sewed the arm-length seam.
 I decided to finish the sleeve hems before attaching them to the bodice, so I wouldn't have the whole shirt flopping around as I sewed the hems. I have to admit that I cheated. I know that knit fabric isn't ever going to fray much, so I didn't even turn under the edge of the hem; I just folded it toward the inside about 5/8", ironed it, and sewed it with a straight stitch. I did pull the threads to the inside and tied them together, to neaten things up.

I pinned each sleeve to the armscye and sewed it in. To seat the sleeve properly, I located the center point at the top of the sleeve piece, and pinned that to the shoulder at the seam. I briefly debated basting it in, then decided I could do fine without it. I went slowly and carefully - and each seam turned out about as well as I've ever sewed an armhole seam.
This left the neckline and the bottom hem of the bodice to finish. The shirt I was copying was a J.Jill simple long sleeve tee, and they use a stretchy shiny ribbon to edge their necklines, but I didn't have any of that. I was planning to cut a piece of the fabric and self-finish it so that the stripes would run perpendicular to the neckline all the way round; but I showed a test strip in place to Adam and he suggested using the stripe lengthwise so there would just be a half inch wide strip of the dark gray around instead. I felt mutinous and vaguely irritated because I suspected his was a better idea.
So I took a break and went to the Fairway because we were basically out of food in the house except for some canned salmon and kippers. I could subsist for a long time on canned fish (as long as there was coffee and half and half), but Adam detests the stuff so it was just time to get some food.

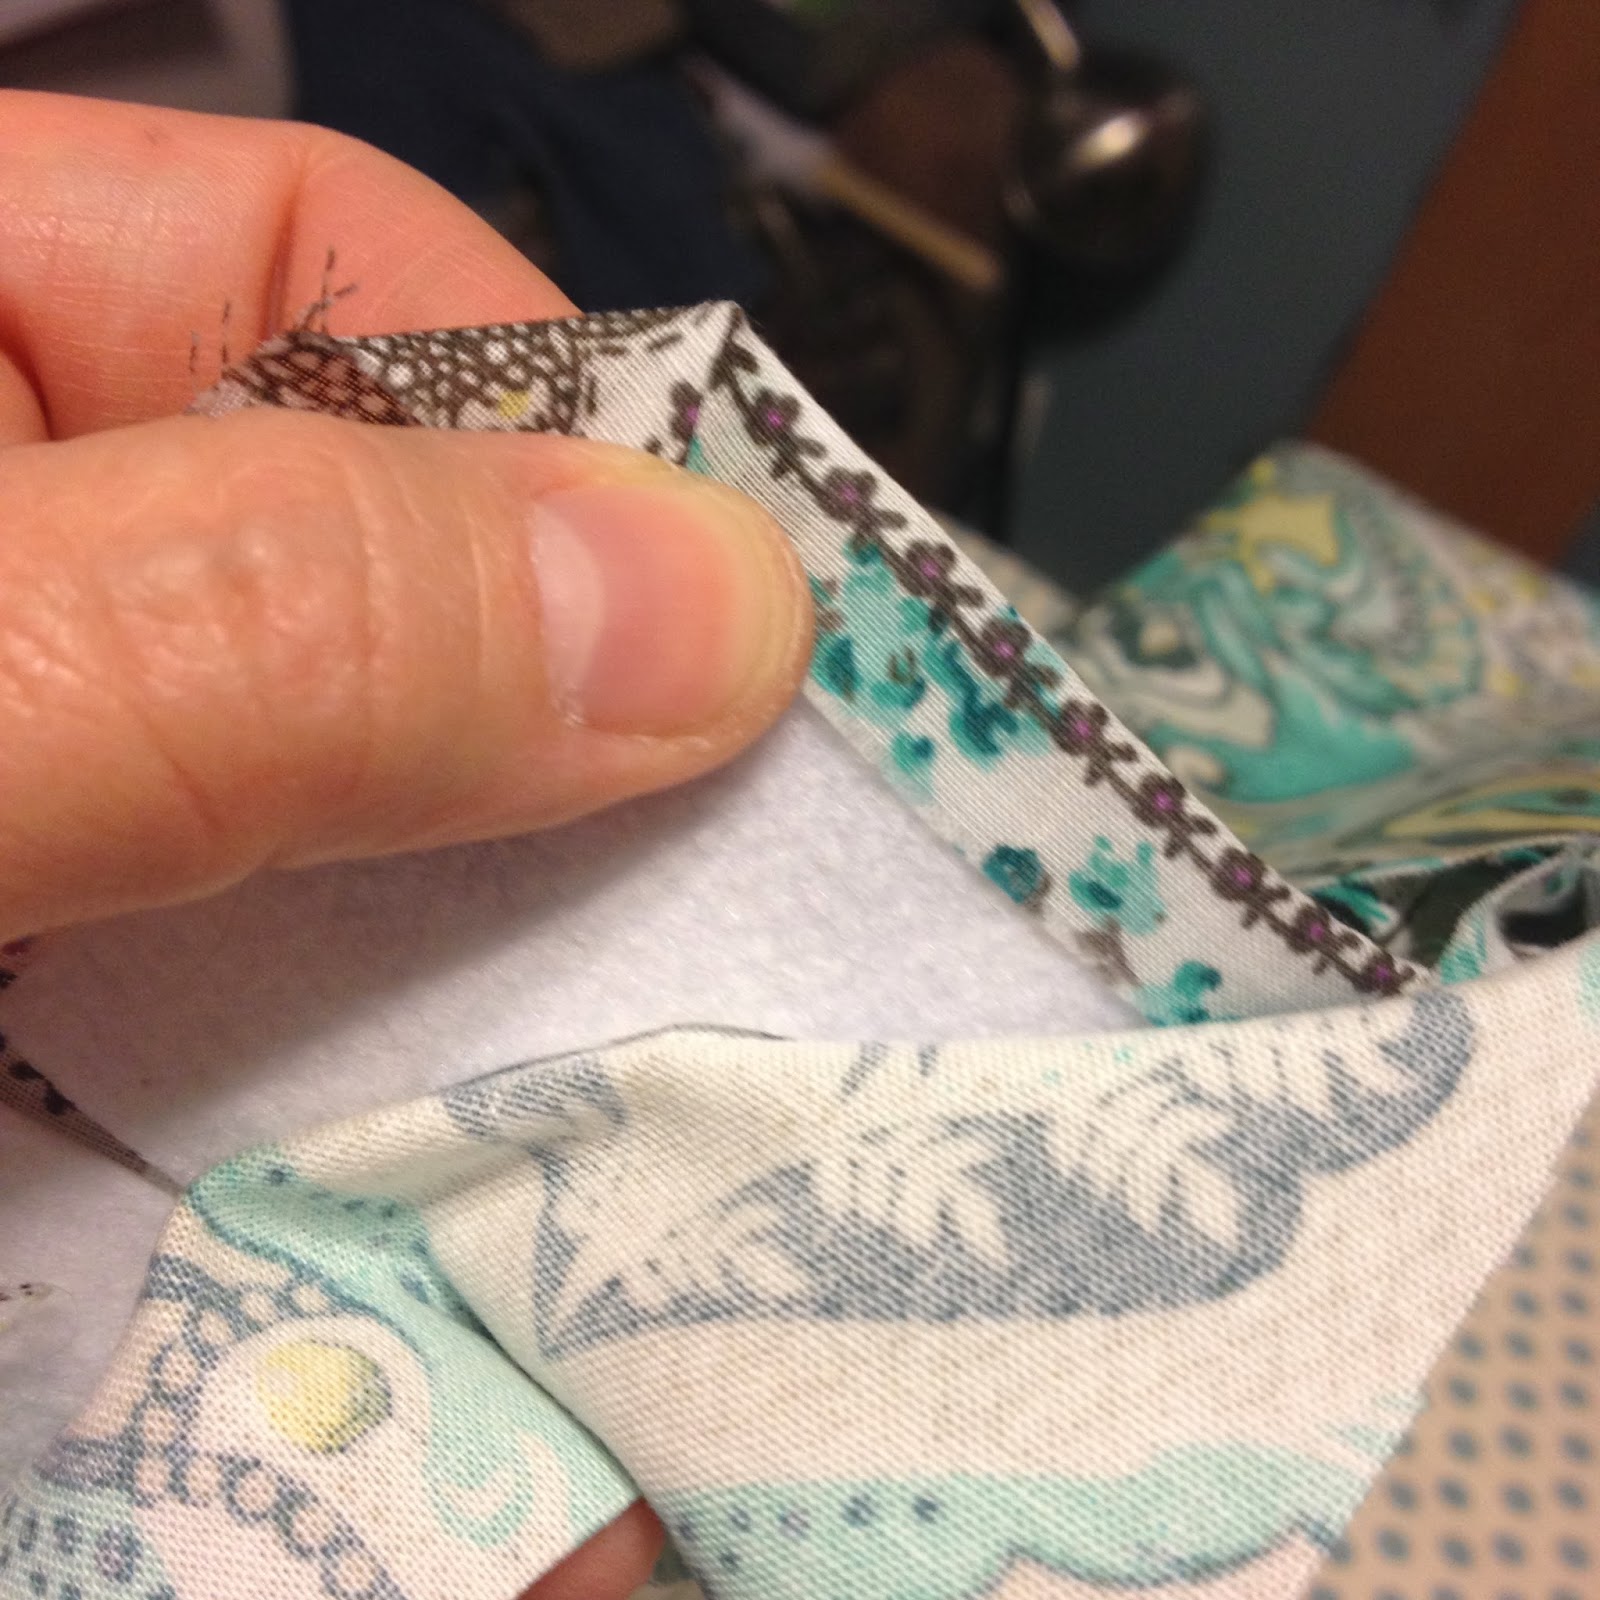
 When I came back, having had a little time to consider my options, I conceded that the lengthwise strip would possibly be better for structural reasons. But I went with the cream stripe showing on the outside instead. I cut a piece of fabric 1 5/8" x 21" for the self-edging. I ironed a 3/8" fold along the inner length. Then I sewed the ends together using about a 1/4" seam (I was able to get this to fit along the neckline, but would use a 3/8" seam next time). I pinned it and sewed carefully using a 3/8" seam, having cut the piece so this would result in the seam running exactly along the edge between the stripes. I felt that the 3/8" seam was a little bulky, so I trimmed about 1/8" or maybe 3/32" ;) along the edge. Then I turned the neckband inside and pinned it in place. I hand-sewed the edge down all around the inner edge.
Finally, I hemmed the bottom edge using the same method I used to hem the sleeves.

Some notes

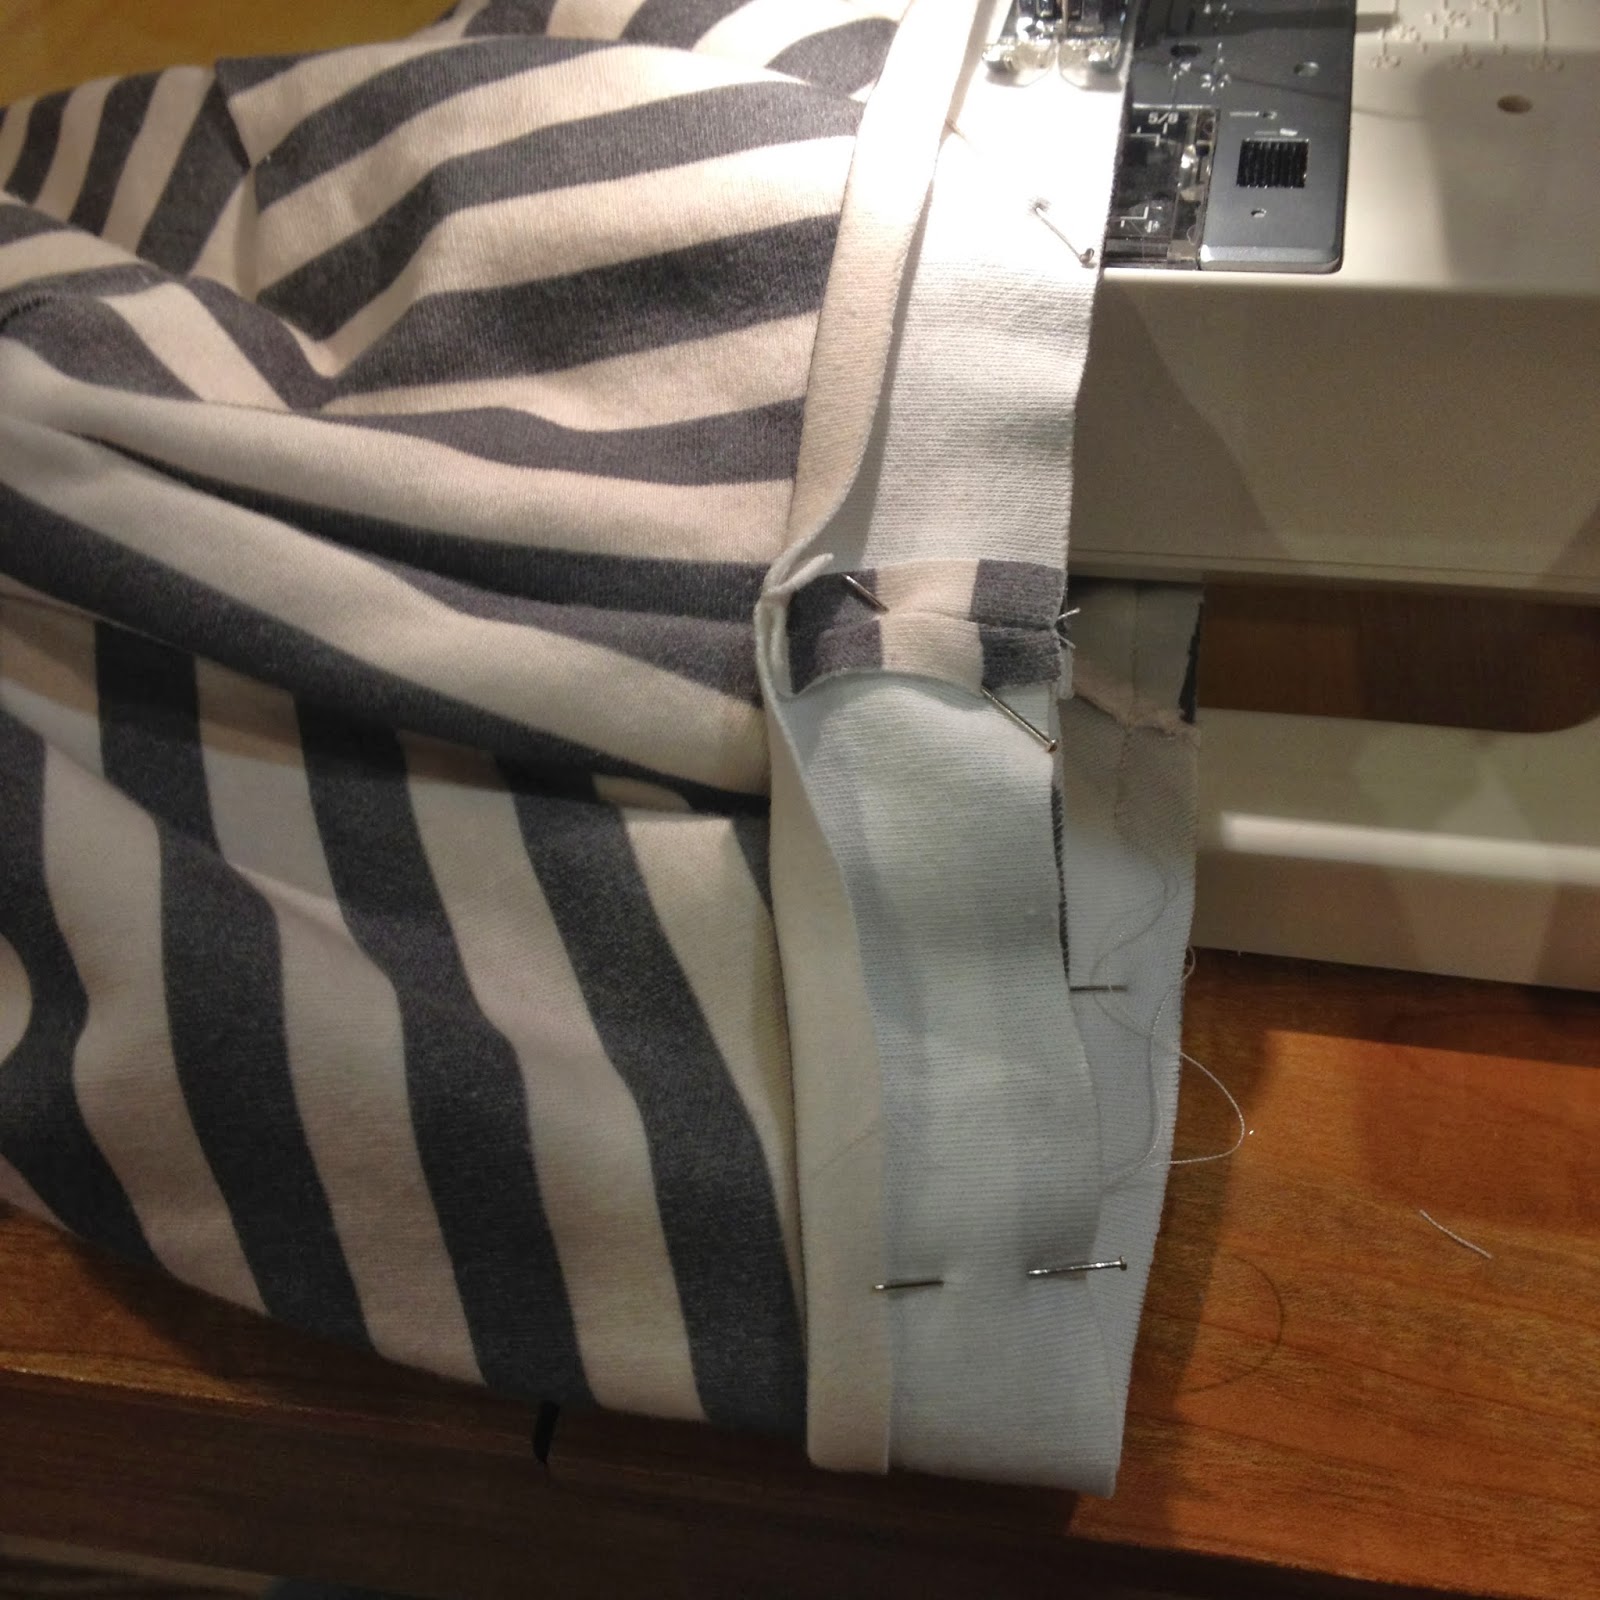
I don't have a ton of experience sewing knit fabric (excluding hand-knit fabric of course), and the thing I was worried about was how the fabric is stretchy, but the stitch line is not. So I found a kind of forward zigzag stitch that had lengthwise stretchiness, and I used that for all the seams. If you look closely at the pic to the right you can see it. But when I tried it on a piece folded, to see how it would work for the hem, it tended to make the fabric pucker. So for the hems I used a straight stitch.
To finish the seams, I used regular zig zag stitch, then trimmed the seam edge close.
I pressed all seams toward the back, and the armscye seam toward the arm. For the sleeves this meant that when I hemmed them I turned them opposite directions, and then I was careful to put each into the armscye that would result with the seam pressed back. I was quite careful about this. It doesn't mean anything and I didn't win any prizes for doing it this way. It was just a little bit of OCD rearing its head.

 |
| I added my name to the inside collar. |
I wasn't 100% thrilled about how a printed stripe (rather than one dyed into the fabric) showed itself when sewn across, e.g., at the hems. You can see the white of the base fabric peeking through where the stitches pierce the fabric. I also noted that the print can be picked off, if one thinks one has a piece of fluff attached and pulls at it and discovers it wasn't fluff, it was a bit of print lifting up off the material. So probably one would want to wash these prints the same way one would wash any print they didn't want to degrade over time: Turn it inside out before laundering.