Saturday, December 6, 2014

Slash that stash

I was just reading some posts in a blog series called Stash Less, where craft blogger Felicia Semple describes attempting to use up her stash instead of buying more. I have been working at this for more than a year myself. Mostly I've done moderately well, though I recently had a small relapse (I bought a bunch of yarn).

It seems that both fabric and yarn are good media to build a stash that quickly gets out of control. Felicia Semple talks about fabric but her observations apply to yarn as well. I buy fabric too, but my primary craft addiction is yarn - I have five big plastic bins of yarn and spinning fiber. I like to buy sock yarn especially, because it's as beautiful as heavier weight yarn but you only need one or two skeins of it to have enough for a real project (as opposed to 10-15 skeins for a sweater), which keeps the cost of an individual purchase reasonably low.

When I moved from my apartment in the city to a house in the suburbs, one thing I was really looking forward to was my own craft room. Little did I realize this really meant a walk-in closet for my yarn. I also started spinning yarn after moving out here, and I started buying spinning fiber. So then I got a stash of spinning fiber, which even after you use it is still in your stash... it just moves to a different subsection awaiting its next use!

For me the biggest buying trigger is looking at pictures of gorgeous color work by yarn dyers. Every one of the following dyers is well-represented in my stash.

Celestial Skies fingering by Sundara Yarn
Dachshund by Madelinetosh*
Pallas Athena by Blue Moon Fiber Arts
Tremble by Hedgehog Fibres
Stormy Waves by Pigeonroof

In addiction circles they have a saying: "If you hang out at a barbershop, eventually you'll end up getting a haircut." (They mean, don't hang out in bars if you are trying not to drink alcohol.) For my yarn-buying compulsion, Pinterest is the barbershop. I loooooove Pinterest and I love taking 15-30 min at bedtime before sleep to look through my feed. Sometimes I come across an intensely compelling picture of a skein of yarn that has had dye applied to it with such skill, love, passion, and talent that I must follow the link. I go where the picture links and I look at all the other amazing colorways the dyer has created and I start to feel like I must HAVE some of this color.

One reason I decided to work on using up my stash: I observed how I wanted the yarn passionately when I was looking at the picture, often felt somewhat deflated when I received it, and then it spoke to me almost not at all after it had been sitting in the plastic bin for a while. I mean, I have some truly lovely yarn in my stash. I'm not that excited about most of it anymore; but I think that mainly is because it's not NEW. Felicia Semple says, "Sometimes if you don't touch something for a year then the sparkle slides right off it. It looks flat and kinda just okish." Aint it the truth! I thought about how the purchase didn't result in as good a feeling as looking at the picture, and I thought, I think I need to keep looking at the pictures, instead of buying the yarn. Before Pinterest I saved a ton of photos from dyers' sites. Now I can save the pictures to my Pinterest boards and come back and look at them and just feel how great the gorgeous colors make me feel.

Trying to use up your stash is a funny thing. All these feelings come up! And I'm so stingy and fearful! Felicia Semple says about some particularly lovely fabric, "There would be so many things I would want to use it for I wouldn't want to 'waste it' by using it on just one. So I wouldn't use it at all." I've had this experience a lot with fabric especially. Even with material that I wasn't especially in love with!

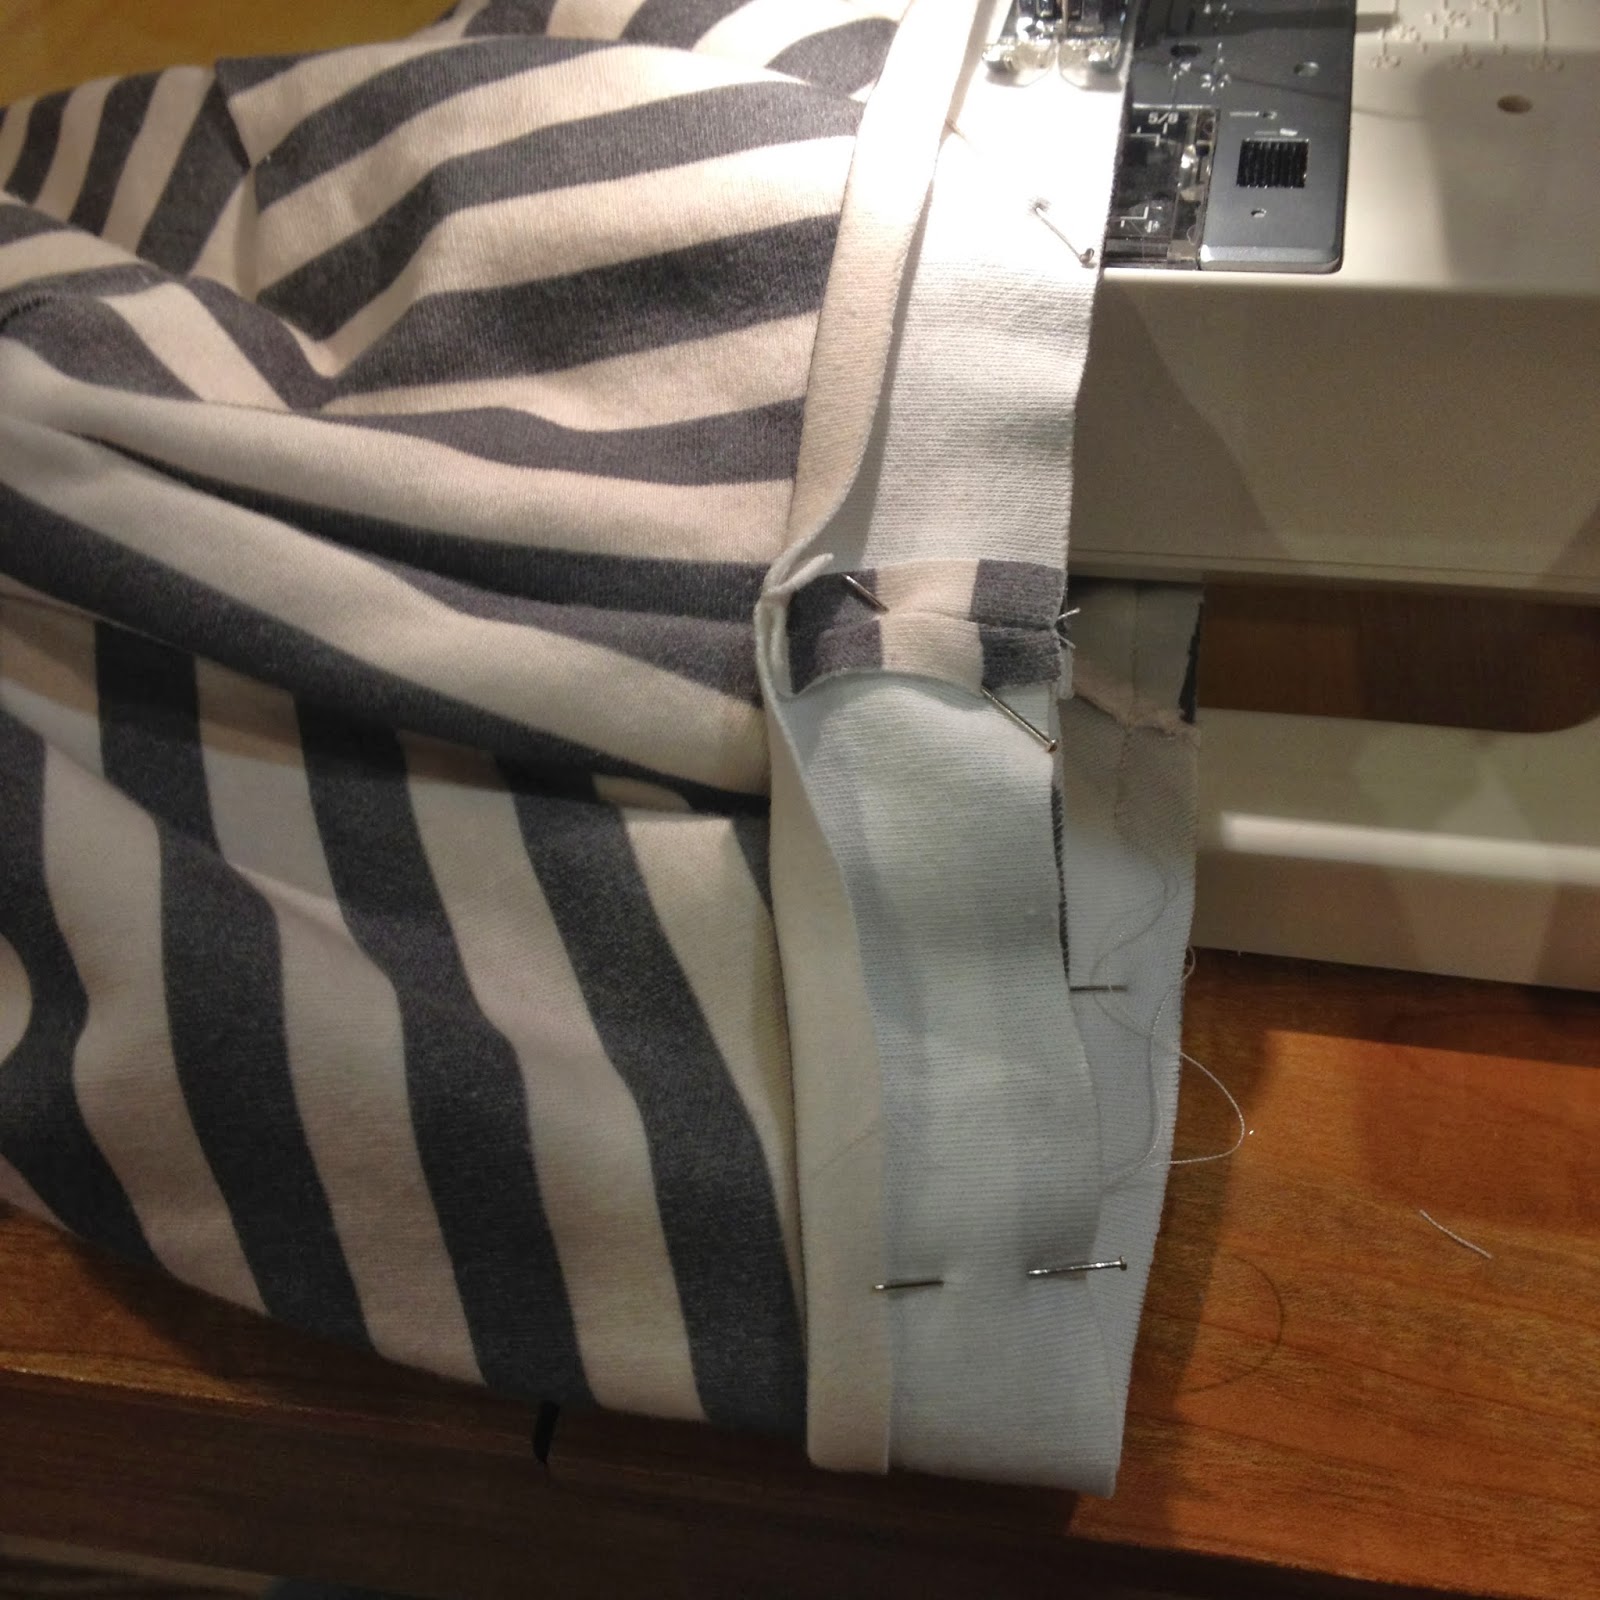
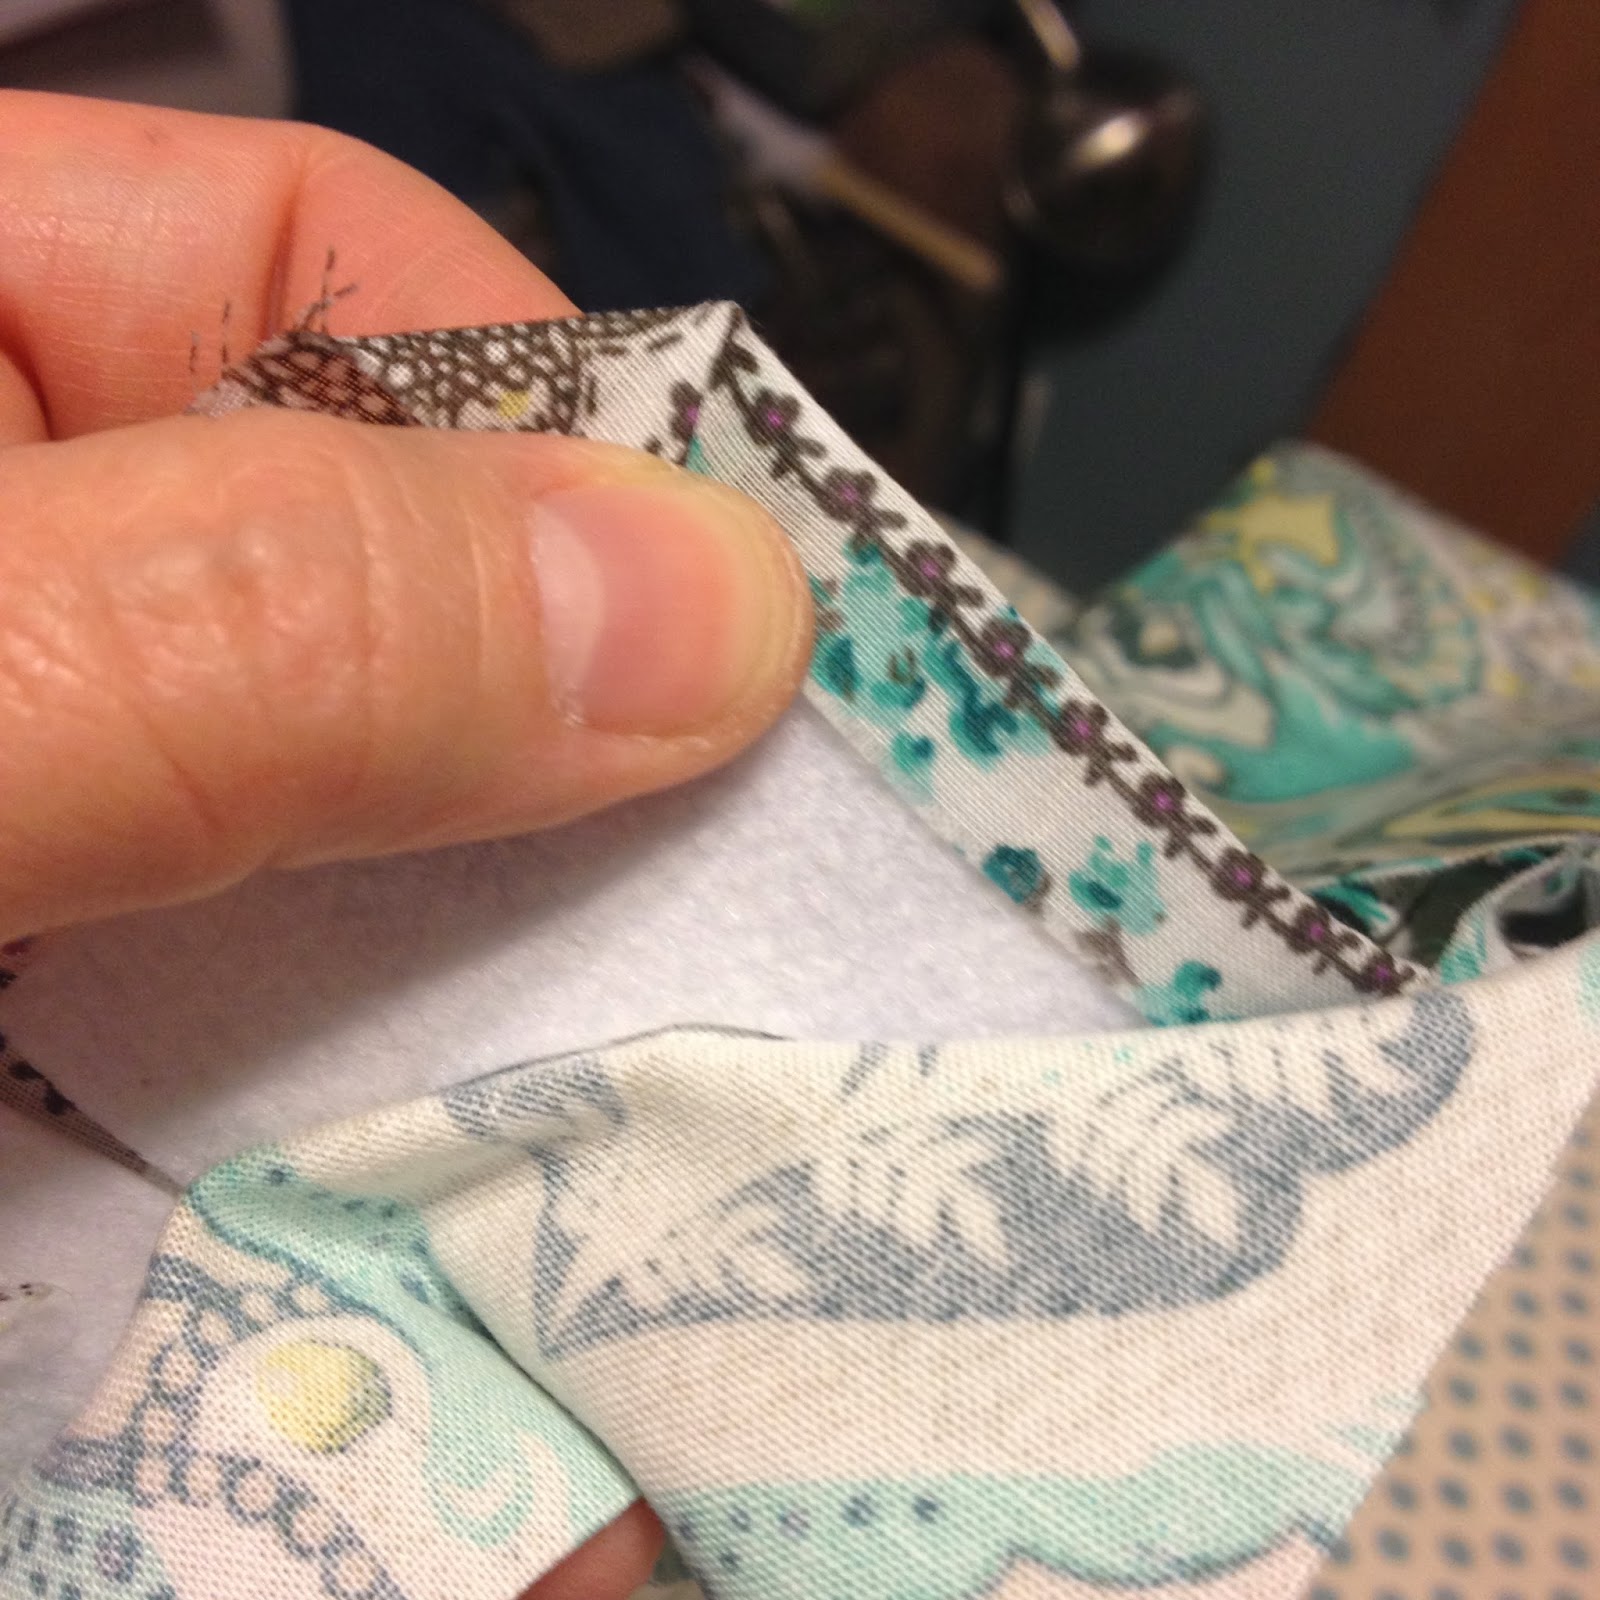
Recently I made some hand-stitched badges.

I started with a square of khaki twill and I stitched two badges on it. There was room for several more on the square, but frankly my fingers got all chewed up by doing the work and I didn't want to start another one right away. But in order to finish the ones I had done, I had to cut them out and blanket stitch around the edge. BUT if I cut out the two I finished, I would no longer be able to use the rest of the square in an embroidery hoop. I had to tell myself it was okay not to use up every inch of the twill square, it was better to finish the two badges I had stitched than to put them aside to await the day when I feel like working on more badges. Which, let's face it, may never come again! I am not primarily an embroiderer by any means; I just thought I'd like to make a couple. (I do love how they came out though.)

So, being stingy with materials is definitely a thing. And then when the fabric is especially precious (I too have a Liberty print fetish dating back to my teens) I have a REAL problem figuring out what project is sufficiently deserving for it.

More will be revealed. I don't have any real answers so far...

*That Madelinetosh Dachshund colorway is from the Fall/Winter 2014 color collection and I can't tell you how badly I want some.

Wednesday, November 12, 2014

Look ma, no thumbs!

I have a new knitting pattern on Ravelry! It's called Thumbless Baby Mittens. I made two sizes. Here you see the baby size:


And here you see the infant size:


With nothing in the photo for context - not even a measly quarter - these could be any size at all. I guess you'll just have to trust me.

This pattern is free on Ravelry. Enjoy!

Monday, January 6, 2014

Bagging rights, or: The good, the bag, and the awesome!

No more handle shopping bags to carry my knitting! But for me, that's long been the perfect size and shape for a knitting project. 8" x 5" x 10", heavy paper, with those twisted-paper handles. You get great ones from Anthropologie and slightly larger ones from Chipotle. They work great for portable projects. But they do get worn out over time. They wear at the top edge from the yarn running over it, and they tear when you stuff something in too hastily. And they start to look ratty after some time has passed even if they still have no holes in them, or sometimes they just have something on them that is from another season, like the one I pulled out that I had from last Christmas with a Santa on it, which I used well into the summer. Or the one I used in a pinch that said "Happy Birthday" in big multicolored letters and sparkle and people thought it was my birthday.

So I have long intended to sew a longer-lasting replacement for all the paper bags, and this weekend I finally got around to doing it. Here is my laminated-cloth, lined, might-just-last-forever project bag. It would also work well as a lunch bag.

In contrast to the gift bottle carrier, this is a very easy project to sew. It doesn't even take a pattern. It's all rectangles that are sewed together in steps. The rectangles are:

  • 6 1/4 x 9 1/4 - bottom: cut 1 each of outer fabric, lining fabric, and interfacing
  • 9 1/4 x 11 1/4 - wide sides: cut 2 each of outer fabric, lining fabric, and interfacing
  • 6 1/4 x 11 1/4 - narrow sides: cut 2 each of outer fabric, lining fabric, and interfacing
  • 2 1/4 x 15 1/4 - handles: cut 4 of outer fabric (or 2 each of outer fabric and lining)

These measurements include a 5/8" seam allowance all around (except at the top). When completed, the bag should measure about 8" x 5" x 10" with handles that are about 1" x 14".

Once again I used this pretty Prince Charming laminate by Tula Pink (because apparently I am trying for a matched set of everything in that fabric. I do actually have other laminated fabrics, including a cool wood-grain one, so I swear I will use those to sew with eventually. Once I do that I will post a few pictures of them to prove I am not a one-note wonder over here).

Steps to make:

1. Attach the interfacing to the lining pieces. I used double-sided iron-on interfacing, which was kind of a pain in the neck because I had to be careful not to stick it to another surface on the opposite side. From top down, I had iron, lining piece, interfacing, and ironing cloth. It turned out that not enough heat got through all the way to the bottom side of the interfacing so it didn't stick much to the ironing cloth. In the future I would choose interfacing with only one ironable side. For the bottom, in addition to the interfacing, I added a piece of plastic canvas sheeting (it has holes in it like needlepoint canvas but it's heavier; I don't know what it's used for but you can get it at any hobby/craft shop). I whip stitched it onto the lining.

2. Sew the handles along the long edges, right sides together. Turn right-side out and press a sharp edge to the seams.

3. Sew together the outer fabric pieces. I sewed the four sides to the bottom (making a big plus-shape, as at left) and then sewed the edges together one by one. I started and ended each seam on the bottom about 5/8" in from the ends. I also sewed the side edges all the way up to the top but ended them about 5/8" up from the bottom. This allows the corners ease to turn. If you like, you can use a 1/2" seam allowance to give a little extra room to fit the lining section inside the outer.

Note: If you have a specific directionality in the pattern of the fabric (e.g., the frog should be sitting up and not upside down), make sure you order the pieces in the right direction before you sew them together. This fabric is not forgiving if you have to rip out a seam and re-sew.

4. Sew the lining pieces together the same way as the outer fabric pieces. My seam allowance for this was probably even a little wider than 5/8"; I sewed right next to the plastic canvas on the bottom but through the very edges of the interfacing on all other pieces.

5. Clip all sewn seams to 1/4" or so, preferably with pinking shears.

6. Turn the outer section out so the right side is outside, and top-stitch along the very edge of each seam. I found it wasn't easy to get the top-stitching right up to the corners, so I just got as close as I could get.

7. Place the handles where you would like them; I placed them so there was 2" from the outer edge of the handle to the side seam. Stay-stitch them at 1/4" from edge. This will make it a lot easier when you are sewing the top edges together.

8. Insert the lining section inside the outer section. Fold the linings over the interfacing (inside the outer section). You will probably get a 5/8" or at least 1/2" seam allowance turned over. Fold the outer fabric edges in, trying to keep them a tiny bit longer than the lining edges so you can't see the lining from the outside. I found the best way to hold things together, instead of straight pins, was large paper clips or binder clips. The paper clips got in the way less than binder clips when I was sewing it together.


9. Whipstitch the inner and outer top edges together all around.

10. If you have a personalized label, attach it somewhere, as if anybody could ever confuse their brown twisted handle bag with your fantastic creation!


You might also add a snap or a tie at the top to close it, if you wanted to use it as a handbag.

Here is my finished project bag. You could also use it as a gift bag (for somebody you really like!), or bring your lunch to work in it.


Monday, December 30, 2013

Warmly outfitting the Vikings in your life with style and distinction

A pattern I've had my eye on for a long time, but never got around to making, was the Dwarven Battle Bonnet and Dwarven Battle Bonnet 2 by Sally Pointer of Wales. These are super fun to make and wear, not to mention being immensely practical, essentially balaclavas with style and whimsy. I never imagined my husband would be interested, but I'd never shown the pattern to him until he mentioned the bike ride across Manhattan was getting kinda nippy now that winter was closing in. To my surprise, he was very excited for me to make him one. Then when I mentioned it to my SIL she said that my nephew would really want one as well. Fortunately it is a very fun pattern that I was more than happy to make a second time, and both of them came out quite well.

My husband has a giant head, so I actually had to make his a larger size than provided for in the pattern. I added a bunch of stitches and kind of winged the eye and mouth holes to go along with the increased number of sts. Here it is in progress:


It turned out the eye holes were too large the way I knit them, and I ended up later crocheting around the outer edges to fill in some of the space. He wanted it knit with black hair and beard (despite clearly having a brown beard as you can see).


Ultimately, I think it came out well, and he was delighted with it.


My nephew is a normal sized ten year old, so I made the child's size for him and it fit him fine, with room to grow.


Here he and my husband are together on Christmas Eve, posing together with their matching helmets.


One for my niece is on the way. She has requested blue tips on the hair and beard!

Saturday, December 28, 2013

The black hat that fell flat

I have made a number of felted items over the years. Some have come out wonderfully! I love the process. I love washing a giant and shapeless loosely knit item and watching it turn into a tight piece of fabric with a solid shape and structure. Felting can hide many ills, including dropped stitches, and it results in a fabric that doesn't fray or unravel. It's a hopeful process in that regard; a lot of the time, a piece that looks all wrong tightens up and becomes a great object.

But I was sadly disappointed in the black felted hat!

Due to my choice of yarn, after felting mine ended up REALLY fuzzy. Like, pimp hat fuzzy. My husband said he would have to get me a cane, a fur coat, and a pair of platform shoes.


I used his beard trimmer to cut off the fuzz, but I still wasn't crazy about the surface even after that.

The fatal problem: The top of it puckers where it decreases. I think this is because it decreases too fast. It has you doing 8 decrs per round with no plain round between, and I think that’s why the puckers happen.

I tried to pull these out when felting but was only partly successful. Not only did they not pull out, they only increased when I felted it a second time (because it was still way too big after the first felting). Because of this I didn’t even want to waste the ribbon to decorate it (you can see I was planning on a nice brown one. But I just couldn't get past the pucker).


They can't all be winners.

Tuesday, November 26, 2013

Sewing the Striped Tee Shirt

I mentioned a while ago that I wanted to duplicate a fancy tee shirt I saw on Pinterest: I described "designing" the fabric and creating it on Spoonflower. I ordered two yarns of the fabric. The fabric arrived. I waited for a good weekend to sew the new shirt.

In the meantime I added "take apart a shirt that fits well" to the giant stack of projects that I work on while we watch TV at night. We watch a lot of TV, and this is the only way I can feel like I'm not wasting my allotted life span sitting and staring at a glowing box. (It's bad enough that I sit all the damn time.) I found a shirt that I liked but that got oil spattered on it so it was going in the rag box anyway, and I used a seam ripper and took it apart into its component parts. Which are very simple, for a simple tee: a front, a back, and two sleeves. 

A simple tee is the easiest garment there is to sew.

Thursday night Adam hosted the D&D game, so I had already cleared the dining table of its usual four-inch layer of stacks of things. (We don't use the dining table to dine except on holidays where we host dinner for more than just ourselves.) I laid out the shirt pieces on the fabric and drew around them. Later it occurred to me that I might want to make this shirt again, so I laid out the shirt pieces on newsprint and drew around them again. In order to get symmetrical pieces I folded each vertically, including the sleeves. I cut the front and the back in halves along the fold. In fact, because usually you cut out sleeves unfolded, I made the newsprint pattern piece of the sleeve before I cut it out of the fabric. Then I laid it out on the fabric and cut out two.

I pinned the front to the back (right sides together) at the sides and the shoulders. I sewed the shoulders and then I sewed the sides. I pinned each sleeve folded lengthwise, right sides together, and sewed the arm-length seam. 

I decided to finish the sleeve hems before attaching them to the bodice, so I wouldn't have the whole shirt flopping around as I sewed the hems. I have to admit that I cheated. I know that knit fabric isn't ever going to fray much, so I didn't even turn under the edge of the hem; I just folded it toward the inside about 5/8", ironed it, and sewed it with a straight stitch. I did pull the threads to the inside and tied them together, to neaten things up. 
I pinned each sleeve to the armscye and sewed it in. To seat the sleeve properly, I located the center point at the top of the sleeve piece, and pinned that to the shoulder at the seam. I briefly debated basting it in, then decided I could do fine without it. I went slowly and carefully - and each seam turned out about as well as I've ever sewed an armhole seam.

This left the neckline and the bottom hem of the bodice to finish. The shirt I was copying was a J.Jill simple long sleeve tee, and they use a stretchy shiny ribbon to edge their necklines, but I didn't have any of that. I was planning to cut a piece of the fabric and self-finish it so that the stripes would run perpendicular to the neckline all the way round; but I showed a test strip in place to Adam and he suggested using the stripe lengthwise so there would just be a half inch wide strip of the dark gray around instead. I felt mutinous and vaguely irritated because I suspected his was a better idea.

So I took a break and went to the Fairway because we were basically out of food in the house except for some canned salmon and kippers. I could subsist for a long time on canned fish (as long as there was coffee and half and half), but Adam detests the stuff so it was just time to get some food.

When I came back, having had a little time to consider my options, I conceded that the lengthwise strip would possibly be better for structural reasons. But I went with the cream stripe showing on the outside instead. I cut a piece of fabric 1 5/8" x 21" for the self-edging. I ironed a 3/8" fold along the inner length. Then I sewed the ends together using about a 1/4" seam (I was able to get this to fit along the neckline, but would use a 3/8" seam next time). I pinned it and sewed carefully using a 3/8" seam, having cut the piece so this would result in the seam running exactly along the edge between the stripes. I felt that the 3/8" seam was a little bulky, so I trimmed about 1/8" or maybe 3/32" ;) along the edge. Then I turned the neckband inside and pinned it in place. I hand-sewed the edge down all around the inner edge.

Finally, I hemmed the bottom edge using the same method I used to hem the sleeves. 

Some notes

I don't have a ton of experience sewing knit fabric (excluding hand-knit fabric of course), and the thing I was worried about was how the fabric is stretchy, but the stitch line is not. So I found a kind of forward zigzag stitch that had lengthwise stretchiness, and I used that for all the seams. If you look closely at the pic to the right you can see it. But when I tried it on a piece folded, to see how it would work for the hem, it tended to make the fabric pucker. So for the hems I used a straight stitch. 

To finish the seams, I used regular zig zag stitch, then trimmed the seam edge close.

I pressed all seams toward the back, and the armscye seam toward the arm. For the sleeves this meant that when I hemmed them I turned them opposite directions, and then I was careful to put each into the armscye that would result with the seam pressed back. I was quite careful about this. It doesn't mean anything and I didn't win any prizes for doing it this way. It was just a little bit of OCD rearing its head. 

I added my name to the inside collar.
I wasn't 100% thrilled about how a printed stripe (rather than one dyed into the fabric) showed itself when sewn across, e.g., at the hems. You can see the white of the base fabric peeking through where the stitches pierce the fabric. I also noted that the print can be picked off, if one thinks one has a piece of fluff attached and pulls at it and discovers it wasn't fluff, it was a bit of print lifting up off the material. So probably one would want to wash these prints the same way one would wash any print they didn't want to degrade over time: Turn it inside out before laundering.


Thursday, November 7, 2013

DIY gift bottle carrier

I won't mince words: This is not an easy sewing project, despite being mostly a rectangular, open top box. It's the oval opening that makes it more challenging. I think you could make an easier version of it with handles, and I'm going to work on that, but for now we have this somewhat advanced project.

The outer fabric I used is this sweet Prince Charming laminate by Tula Pink. I used this a while back to make a messenger bag for my niece Amanda, and I had enough left over for this project. The lining is just some flowery cotton I had in my stash.

The pieces are easy: just three rectangular pieces. The front and back are 5.25 x 16.25", the sides are 5.25 x 11.25, and the bottom is 5.25 square. These dimensions include a 5/8" seam allowance all around. I used newsprint for my pattern pieces. For the oval, I used a honey jar and traced around it. You could also do a rectangular cut-out if you prefer the look, or a circle, or something you drew freehand, if that pleases you. I'm going to refer to it as the oval, here, to keep it simple.

Cut 2 of the front/back, 2 of the sides, and 1 of the bottom piece from each of your exterior fabric, your lining fabric, and heavy interfacing (I used Timtex that turned out to be double-sided iron-on, though I did not iron it on until after I sewed). For interfacing, I tend to cut out pieces without the seam allowance, in this case 4x15, 4x10, and 4x4.

The only marking that needs to be transferred to the fabric is the oval, and you put the marks on the wrong side of the lining. I used marking paper. First I used my tracing wheel, but that leaves dotted lines, and the lining was so busy it was impossible to see the marks, plus it basically cut through the paper of my pattern piece. So (after taping the oval in place) I used an unclicked ball point to press a more solid line of marking. Here you see. It's still pretty faint, but visible enough. I ended up going over that with a pencil to make sure I could see it when I started sewing.

I started the sewing part with this oval, as one of the harder parts of the project. You place the lining and the exterior with right sides together, and sew along the marked line. After you sew, you need to cut out the interior of the oval, and clip (carefully!) to give ease along the entire oval edge.

If you click to enlarge this picture at left, you can see that I cut little triangles out all along that edge. (I am still finding tiny fabric triangles all over my house.) After clipping, pull the piece inside out, and iron the edge. If you are using _____ fabric, you'll want to use an ironing cloth to protect the surface. See this pic at right? It looks great once it's ironed, but the clipping is required to allow it to bend enough and not pucker.


The next few steps are what you would probably expect. I sewed the fronts, backs, and sides together, and then that combined unit to the bottom piece, for both outside fabric and lining.

Here is the second hard part: Before you sew the lining pieces together, you will need to flip them through one side (between the outside and lining connections at the ovals) so you can sew together inside out. Then you pull back through.


Third hard part: inserting the interfacing. This was my first time using Timtex. Since it was heavy, I didn't iron it to the lining before sewing, but the next time I used the iron-on type I definitely will. It just eliminates a whole step and all the fiddly business of inserting the pieces into a sewn-together, tight space. I had to cut a little extra out of the hole to get it to fit, and also I had to slice through the top (as you see in the third pic above) to put it into place. Meh. So, yeah, next time, attach to fabric before sewing fabric together.

As you see, I left the top edges for last, and they had to be whipstitched together by hand. To make a sharp corner, see below. Fold the corner across at 45°, then the top across that, and then the side across, and it makes a nice angle between the two folded edges. Here you can see I did that process using the Timtex as a guide. Then, because the Timtex was iron-on, I was able to iron these edges onto it, which helped a lot when trying to keep everything together with the outside fabric.


I repeated that corner folding with the outside edges, pinned, and whipstitched all along the edge between the lining and the outside fabric. If you click to enlarge this photo at left, you can see my whipstitching at the very top. You try not to make it obvious, but it's hard to make it absolutely invisible.

You can also see I added a snap.